Moulage Made Simple
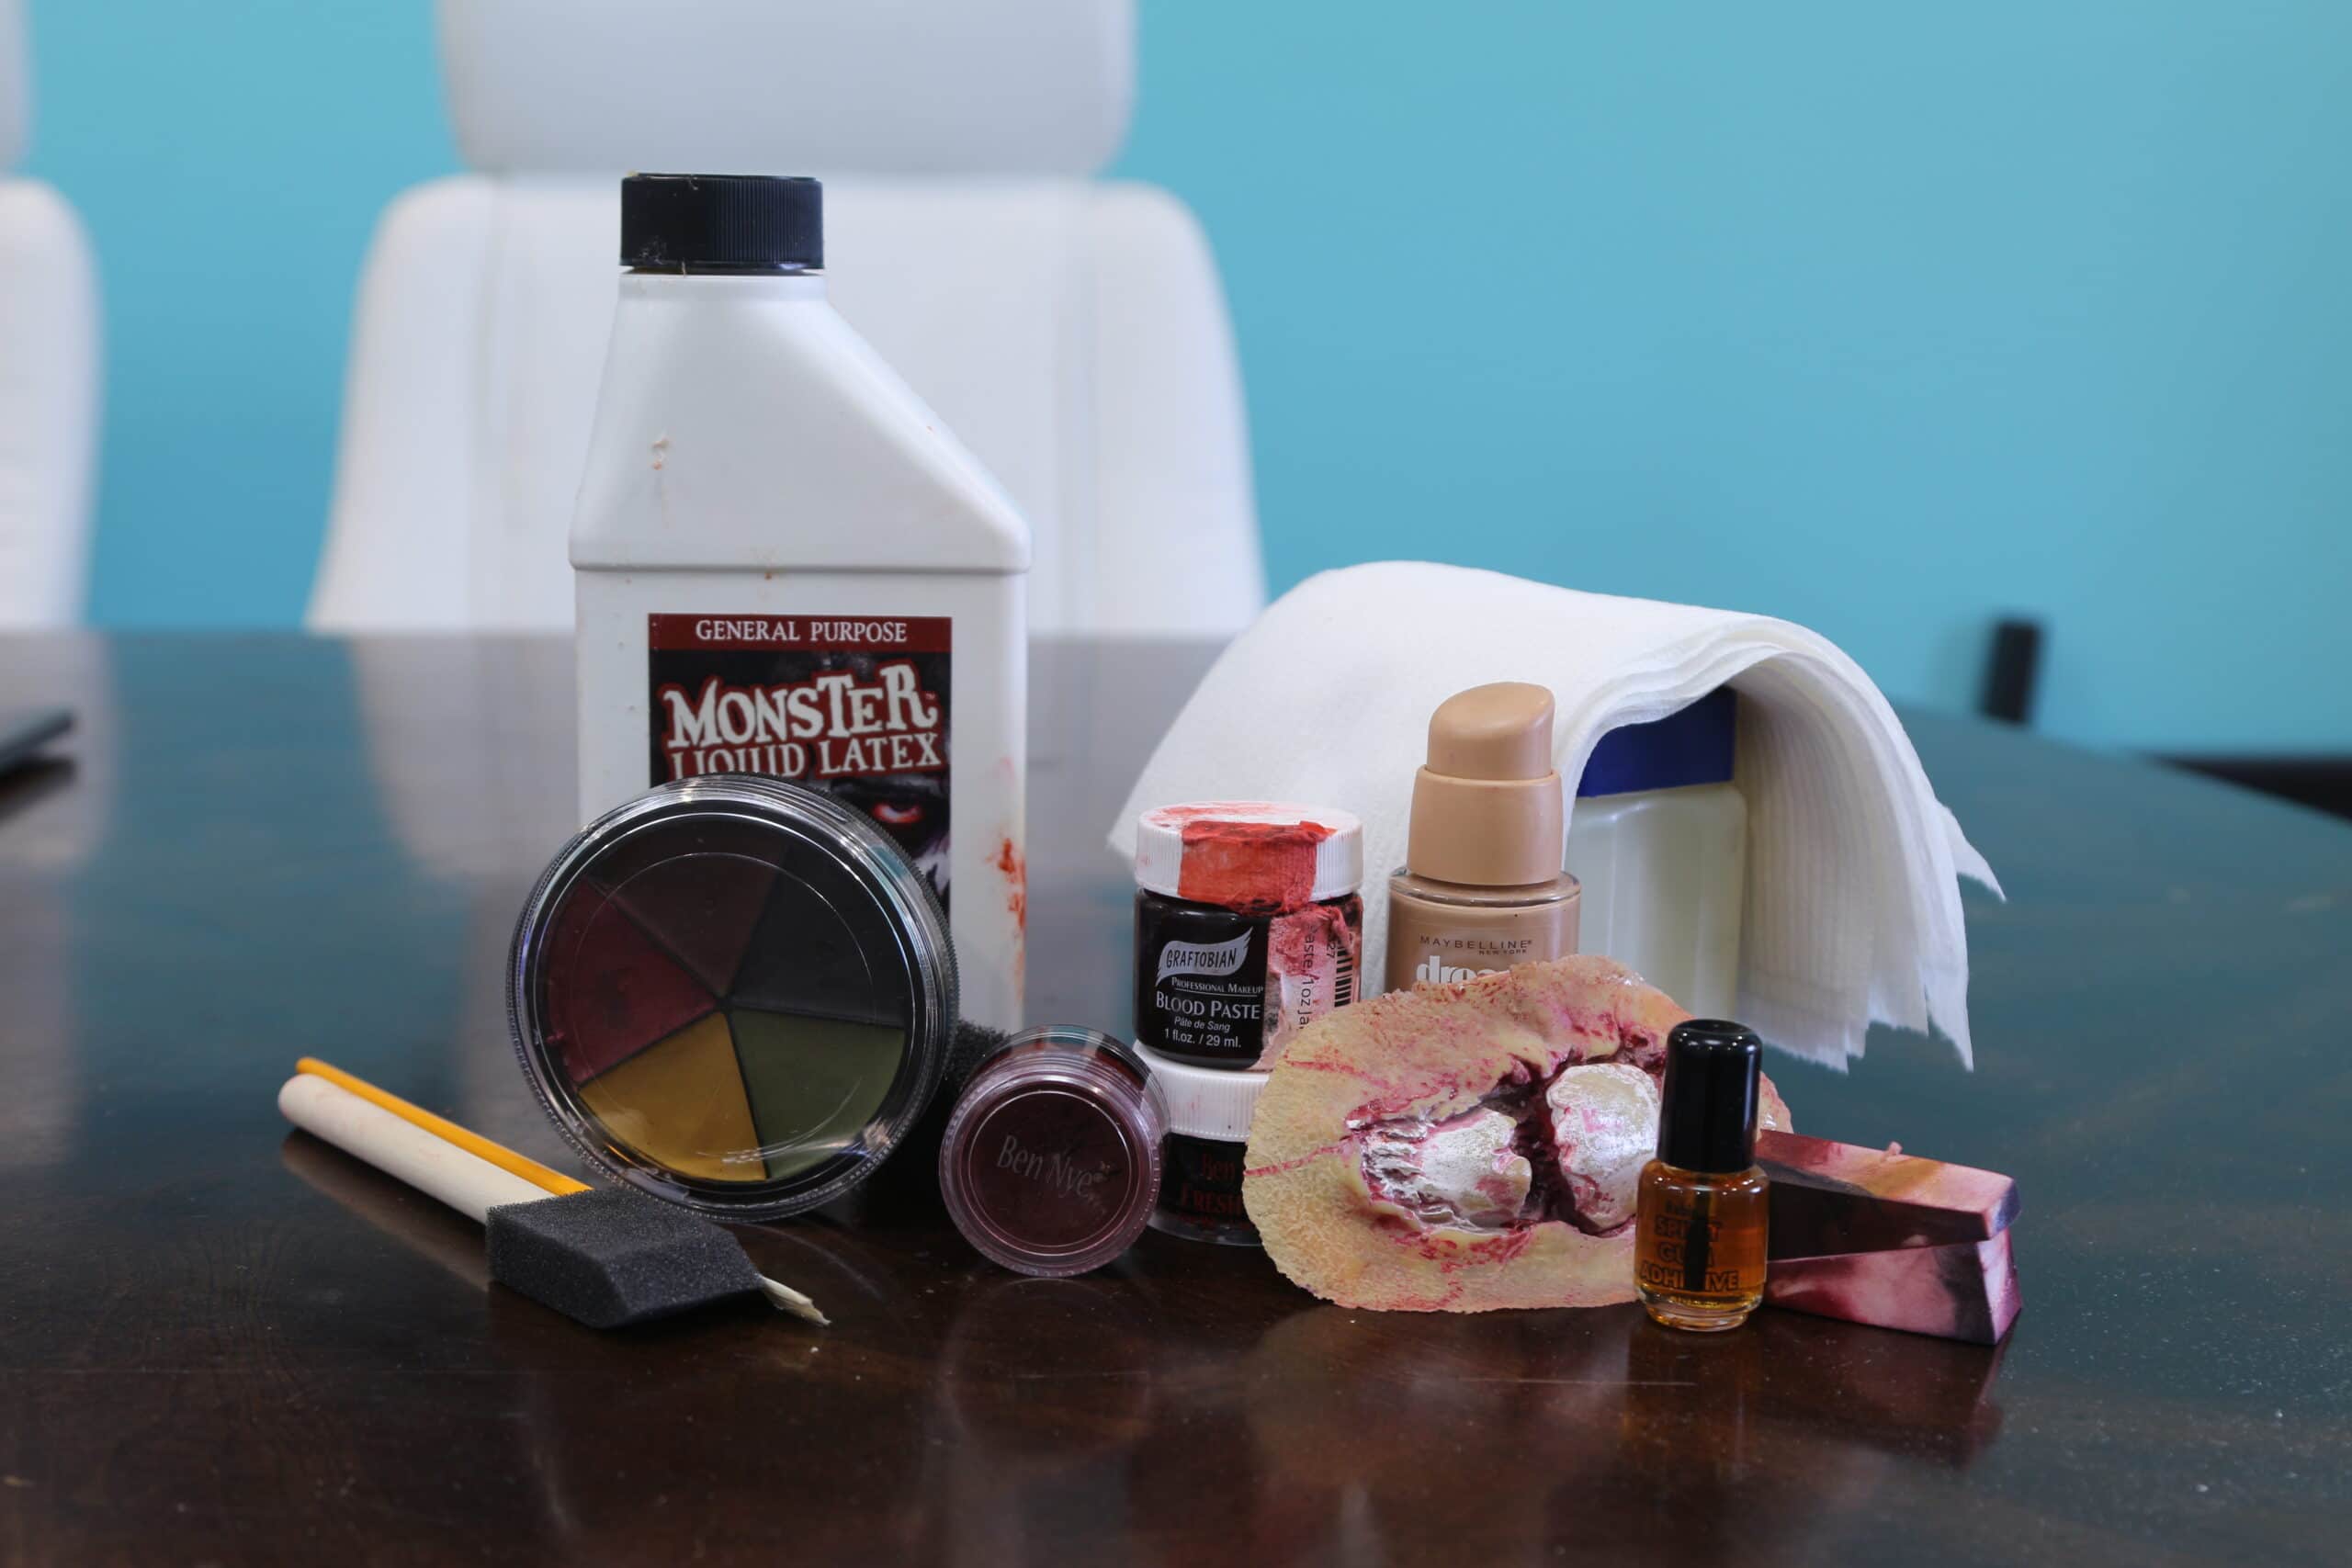
Creating realistic moulage can seem like a daunting task that will break the budget.
This is a detailed tutorial on doing a compound fracture.
1. Start with tissues and rip them into the size you want the injury you will need 20-25 pieces of tissue.
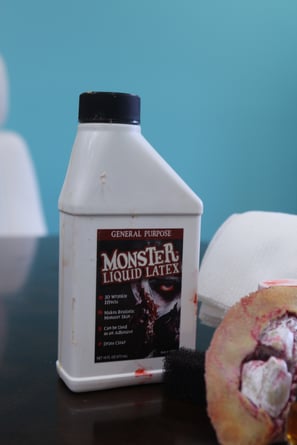
2. Lay the tissue onto clean skin. Take the liquid latex and paint it on top of the tissue. Repeat this over and over. Do not over-apply the liquid latex it will ripe the tissue, if some of the tissue rips, don’t remove it just continue to the next layer.
Link to affordable liquid latex
Link to higher quality liquid latex
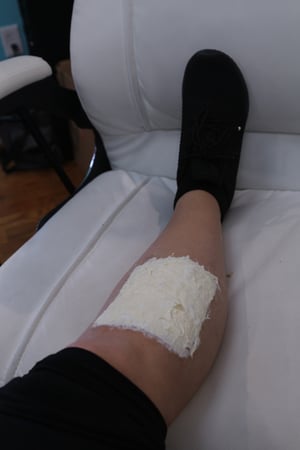
3. Allow time to dry.
4. Take small scissors and puncture a hole then cut the tissue to the desired length. Be careful not to cut skin.
5. Apply foundation or skin color and blend into the skin and entire tissue area as well as inside the wound.
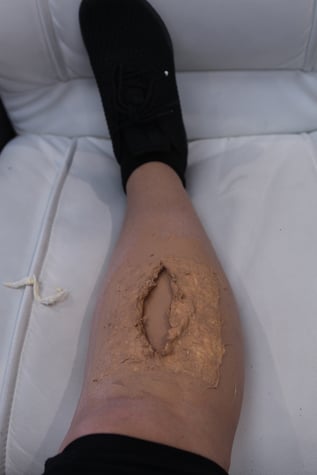
6. Add spirment applicator to wound and skin. Insert wound inside the hole you just cut.
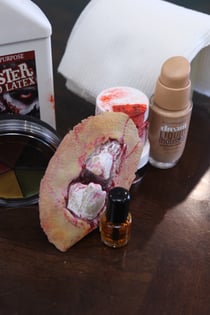
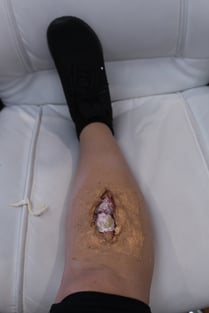
7. Add bruising on the top of the entire tissue area.
Link to my favorite bruise pallet
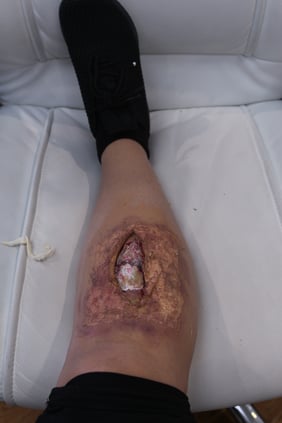
8. Add red on skin flaps and to wound.
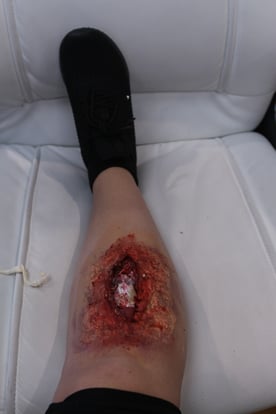
9. Add blood and liquid scab on the inside of the wound.
The link to the essential scab gel
10. With a stipple sponge add blood to the outside of the wound.
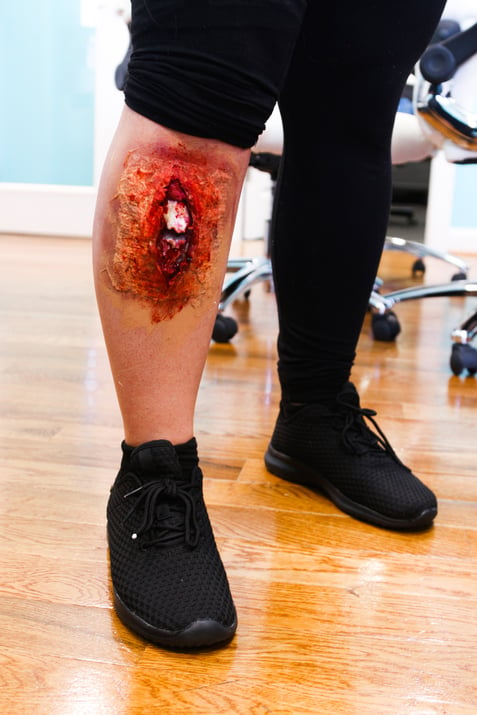
Tags: healthcare simulation, simulation, Moulage, EMS simulation
